Picasso Goes Olympic
This week’s exploration of Picasso took us into his Blue Period.
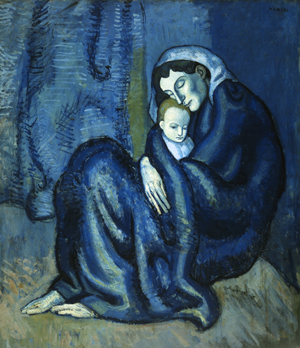
Attempting to create an emotion with a color, we did this art project found through our Artist Study Guide.
The basic idea is to create a portrait with a strong black outline and then choose one color(with the addition of black and white available for a variety of shades) to fill in the areas. Â There were three reactions:
9 year old mookie: Looked disappointed, as if the project wasn’t excited enough. Â She ended up LOVING the project, see her artwork below.
7 year Jellybean: Had the same response she does with any project that has rules. Â She bucked and procrastinated and finally agreed to make one portrait as the project directed and then do it her way with another portrait outline after we finished the first painting. Â She will always resist learning technique but in the end she always adds the technique to her tool belt for her own endeavors.
4 year old Drummer Boy: The dear boy, this was probably a little advanced for him at the age when more color means more fun. Â He did a fantastic drawing but then felt frustrated by the colors he was producing with his choice. Â He ended up starting a new sketch and followed Mookie’s painting. Â (Which was a compliment to mookie, but she was frustrated anyway).
And the outcome?
Jellybean(She’s completed the outline for the 2nd painting, but hasn’t painted it yet, I’ll try to post it when it’s done):

Mookie, inspired by the nights of watching the Olympics, grabbed the red. Â We’re sending this one to Mr. Shaun White, Snowboarding Gold Medalist.


And Drummer Boy inspired by his big sister.(Do you see the eyes way at the top and he had to write Shaun’s name just like his sister).

This was a great project and very accessible for elementary age students. Â I was itching to give it a try myself(I like the challenge of rules), but the baby on my back had other plans.
What We’ve Been Up to
We’ve finally picked up speed after the Christmas Break. Â Keeping our fingers crossed that Spring will come soon, we are-
-Continuing our Indian Studies

-Beginning our first Artist Study of the Year with Picasso

-Finding rhythm and adding cohesiveness to our day with “Square Time”(as named by our 4 year old and inspired by this great ebook on homeschooling multiple children with Circle Time)

-and preparing stories for the PBS Story Contest.
Blowing Fall Trees
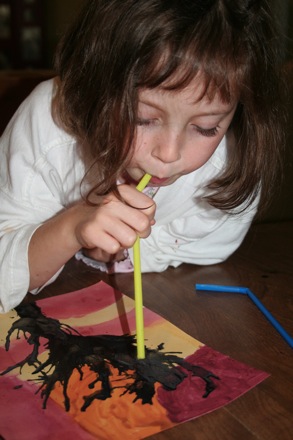
I’m falling in love with That Artist Woman, a art website overflowing with great seasonal ideas. Â Truth be told, I’d like to sift through the site and choose some projects for myself if I had the time. Â Yesterday we painted fall trees, different than the typical trees ideas I’ve seen before, that look remarkably like the trees in our backyard. Â Her instructions are detailed and all of my children we’re able to follow the steps with great results. Okay, I had a great time with the straw and paint as well, but I forgot to take a picture of mine.
If your kids have a sense of mixing colors, let them take the lead in creating the fall colors for the background. Â My 7 and almost 9 year old created the colors for our project.
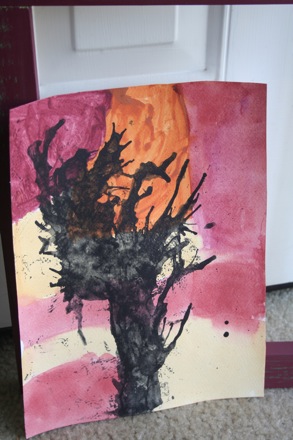
Jellybean, Age 7
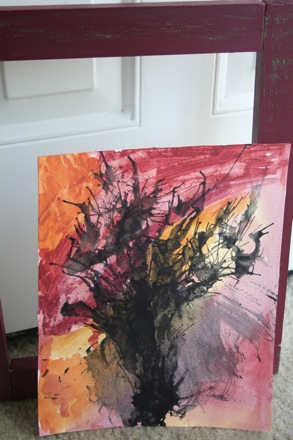
Mookie, age 9 in 11 days
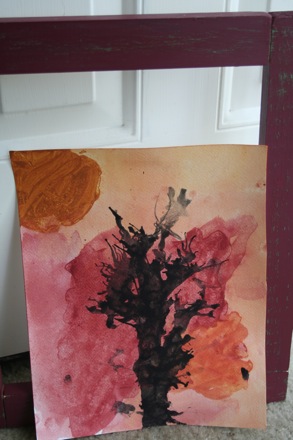
The Boy, age 4 1/2
Crafting with The Book of Days
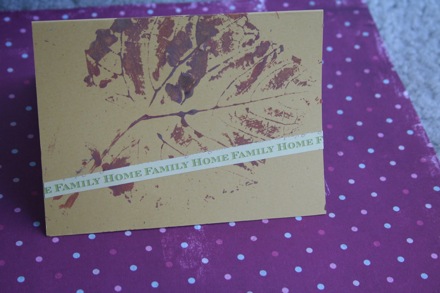
Just in time for Autumn we’ve discovered the Book of Days. Â The Book of Days is a wonderful publication by a talented and warm-hearted mom who writes and illustrates each issue. Â The monthly email book is full of seasonal cooking, playing, exploring, and savoring. Â So far I’ve found the acitivies from Autumn 1, the latest edition, to use mostly household items and a sense of wonder.We’ve made pumpkin butter and kettle corn, played acorn jacks and today we made leaf prints.
As much as we like art around here, we’ve never made these simple leaf prints. Â Our 4, 7, and 9 year old(okay, and me, too) found it easy to do, as long as you’re willing to get a little messy with the paint. Â Here’s what we did to make ours(check out the Books of Days for more instructions and other great nature fun). Â We printed our leaves onto notecards, which we’ll wrap with twine and give to friends.
Step 1-Paint your leaf(we used craft acrylics)
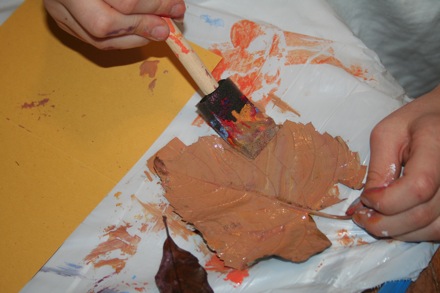
Step 2-Turn leaf, paint side down, onto notecard
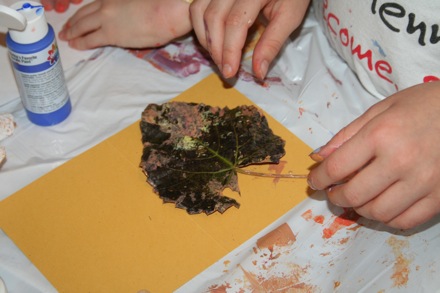
Step 3-Place piece of paper over leaf and gently press
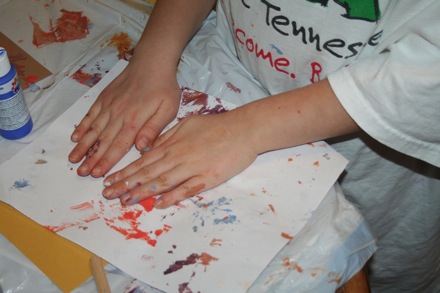
Step 4-Remove paper and leaf, admire beautiful work
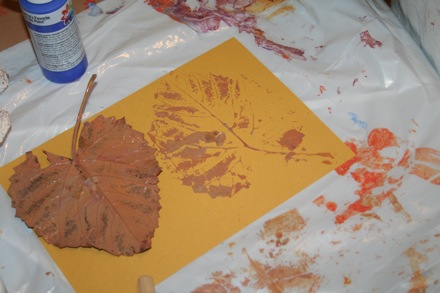
Step 5-Stop at this point, or after your cards dry, you can add accents with letter stamps, scrap papers, or your own creative idea. Â If you have more printing left in you, go ahead and print on the envelopes too.
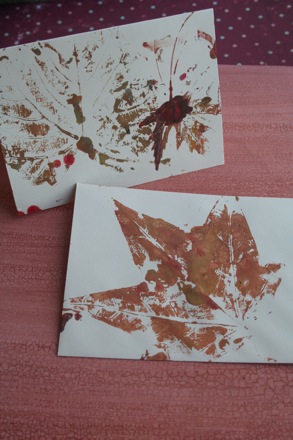
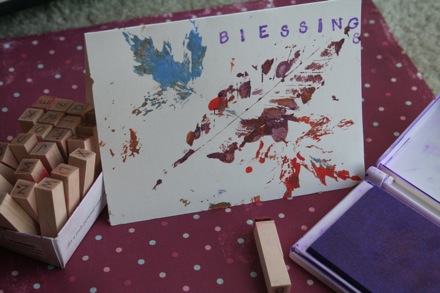
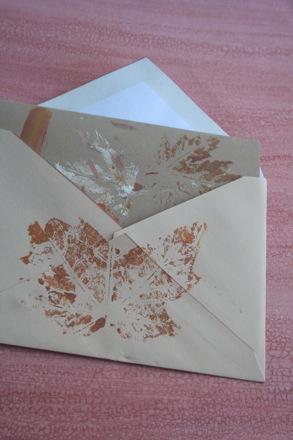
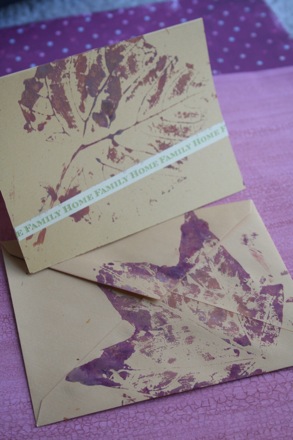
Note: If you are crafting with younger ones(such as my 4 year old) you’ll want to give guidance for the first few cards and continue to give some helpful encouragement-if you want recognizable leaf prints. Â I found, though, that it’s my younger ones that surprise me with their freedom and inspire me to brake out of that “perfect” idea in my head.
